This guide will walk you through setting up a powerful AI-powered knowledge bot for your Slack workspace using Dify.
Part 1: Creating Your Slack App
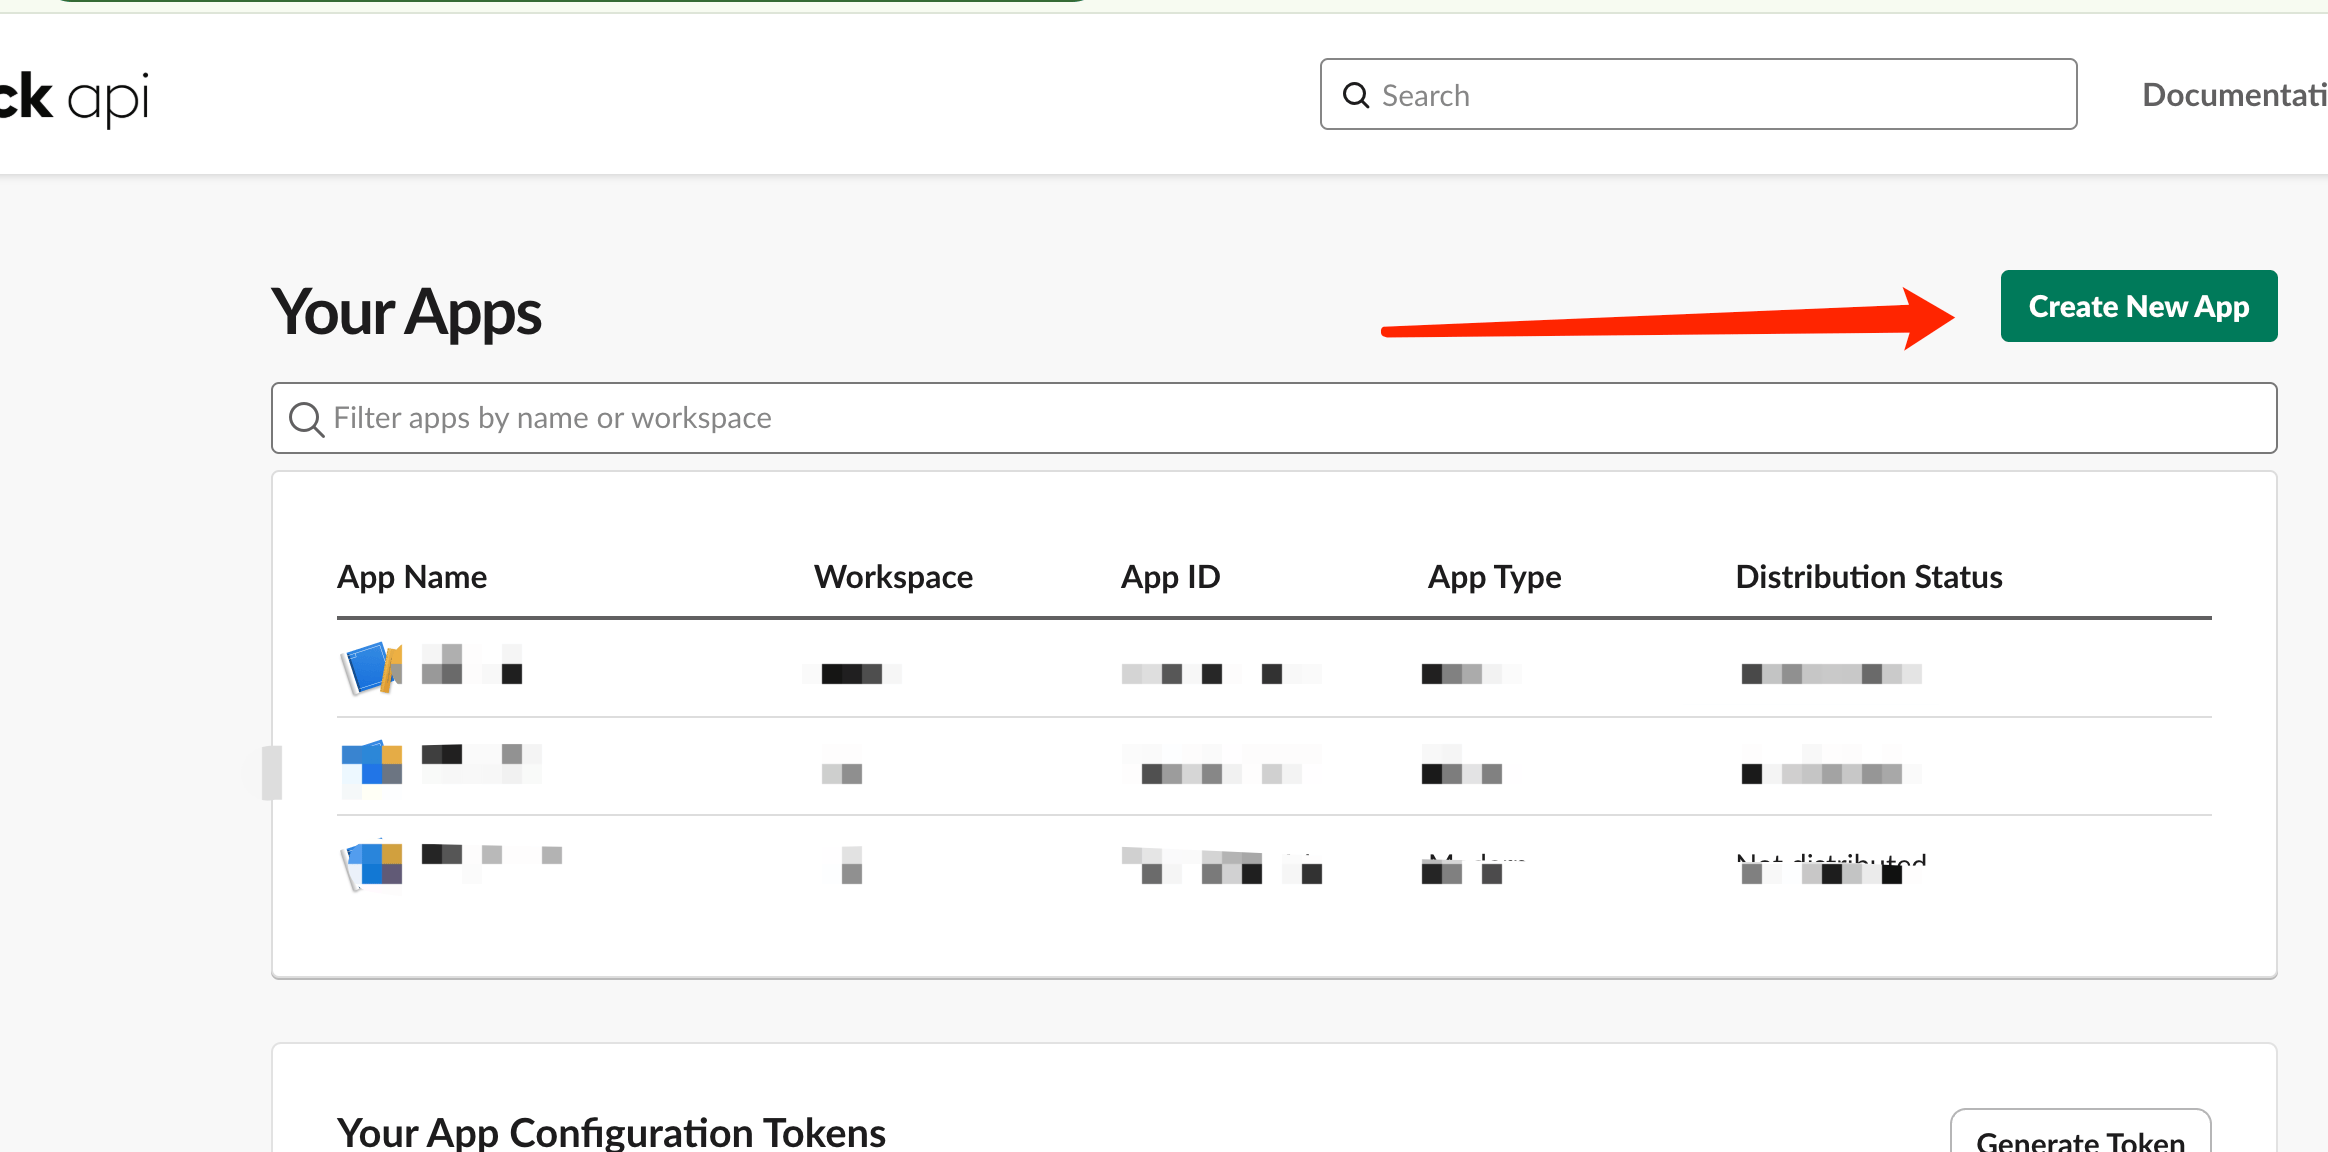
Step 1: Create a New Slack App
Visit the Slack API portal and click Create New App.
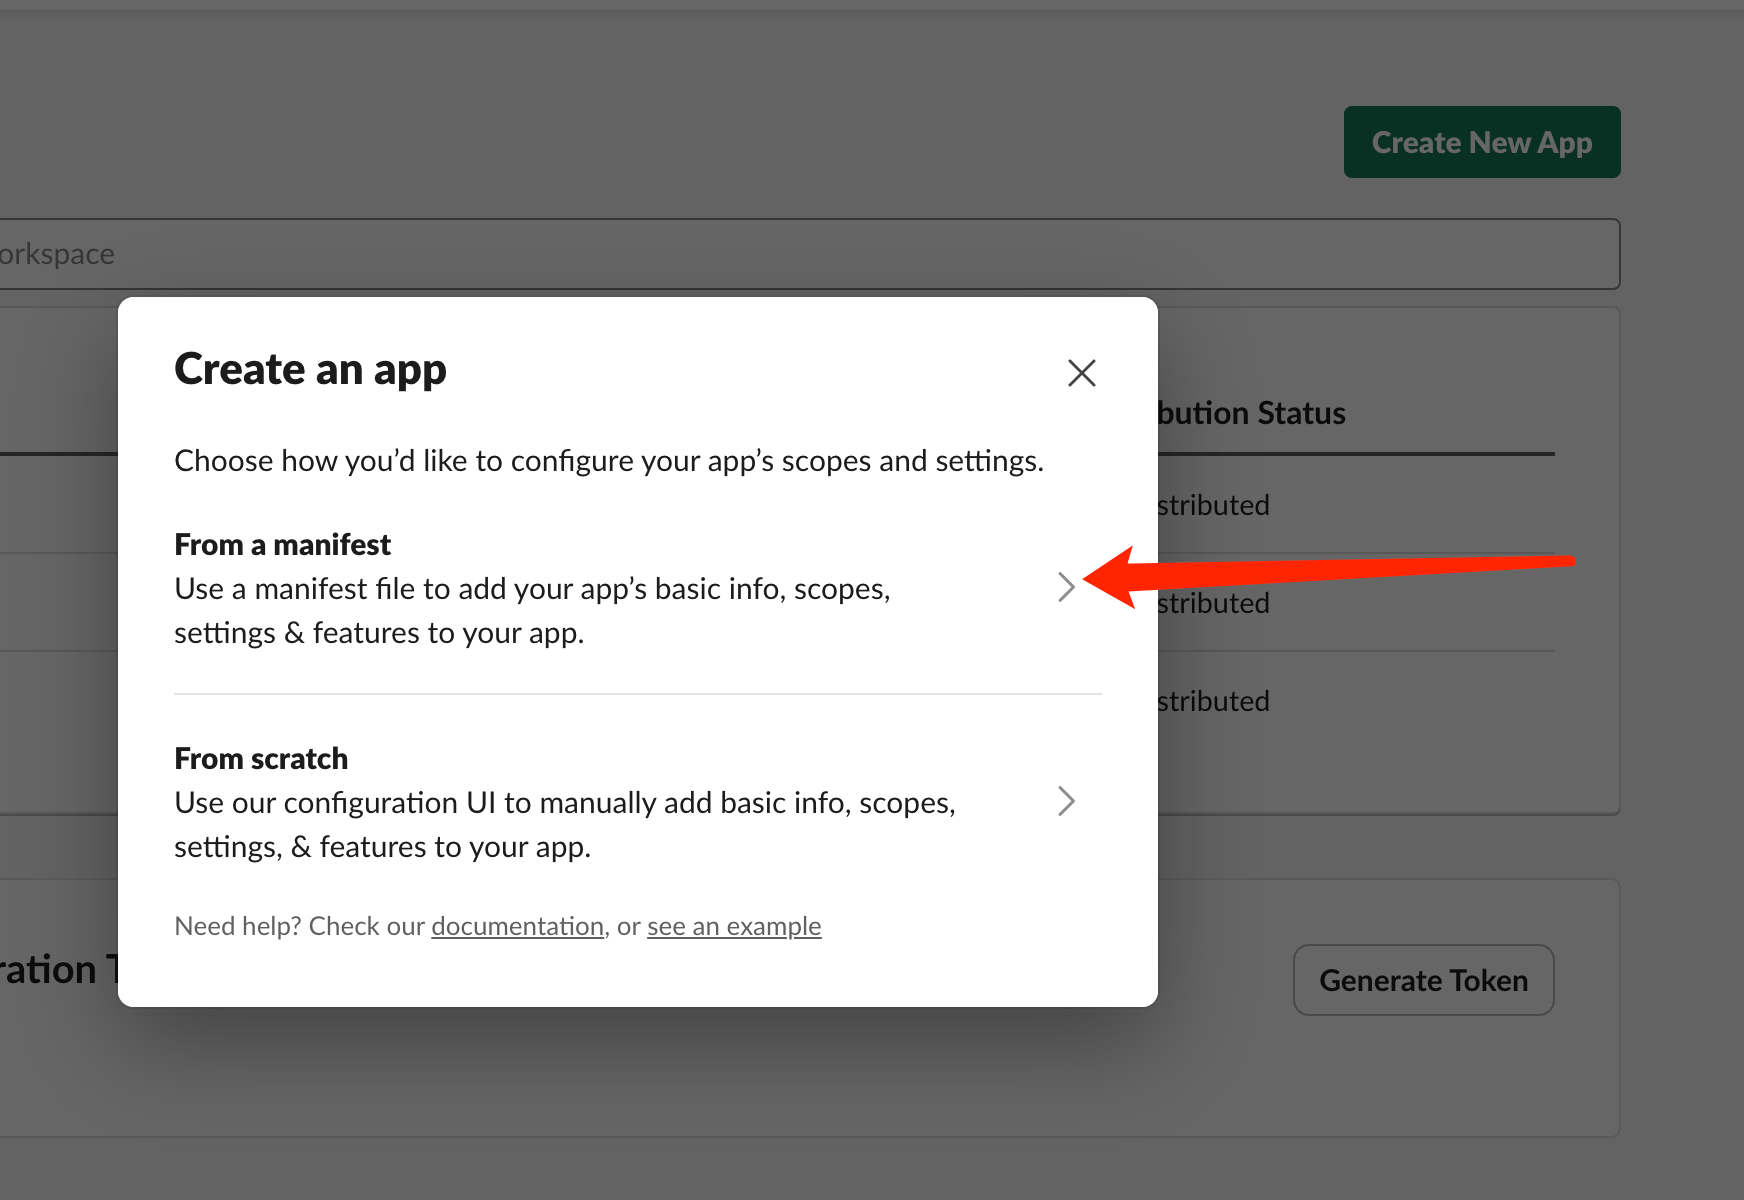
Step 2: Choose “From a Manifest”
Select this option to configure your app using our pre-built manifest.
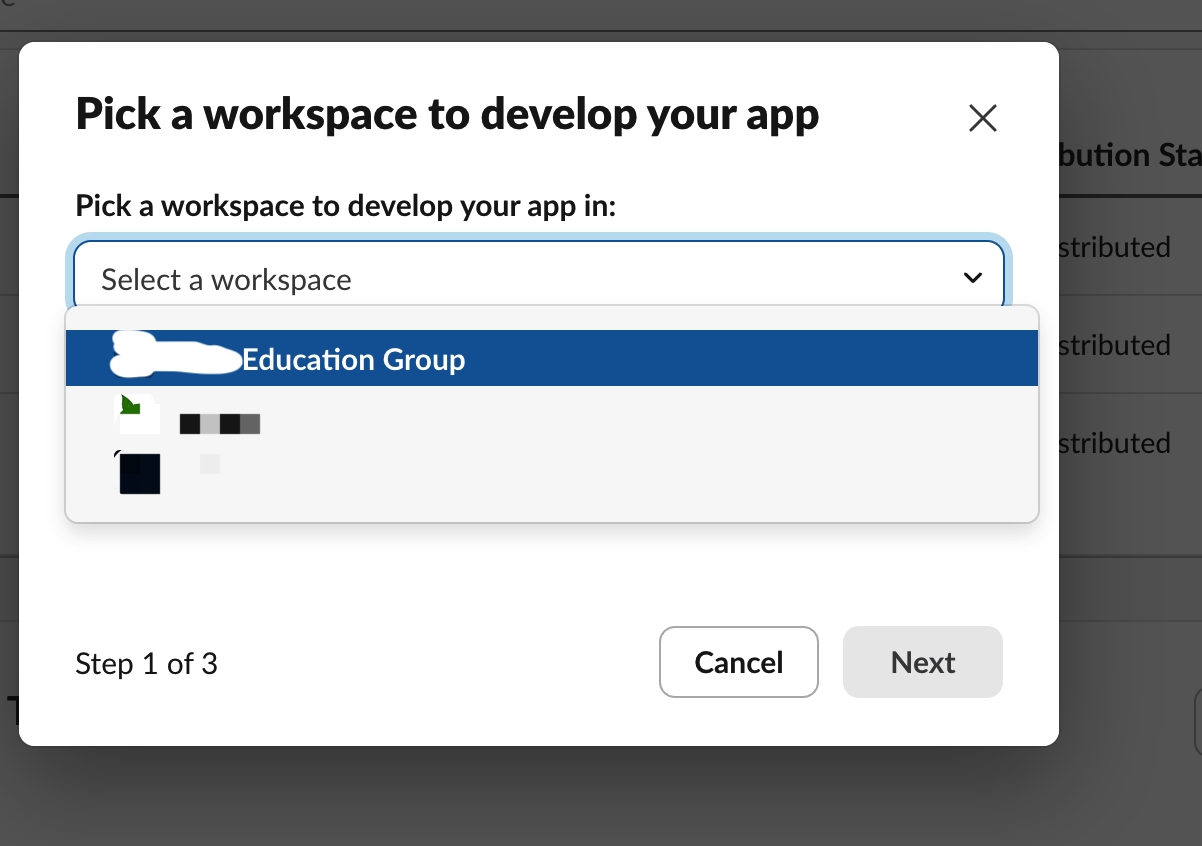
Step 3: Select Your Workspace
Choose workspace Education Group (or your workspace) and click Next.
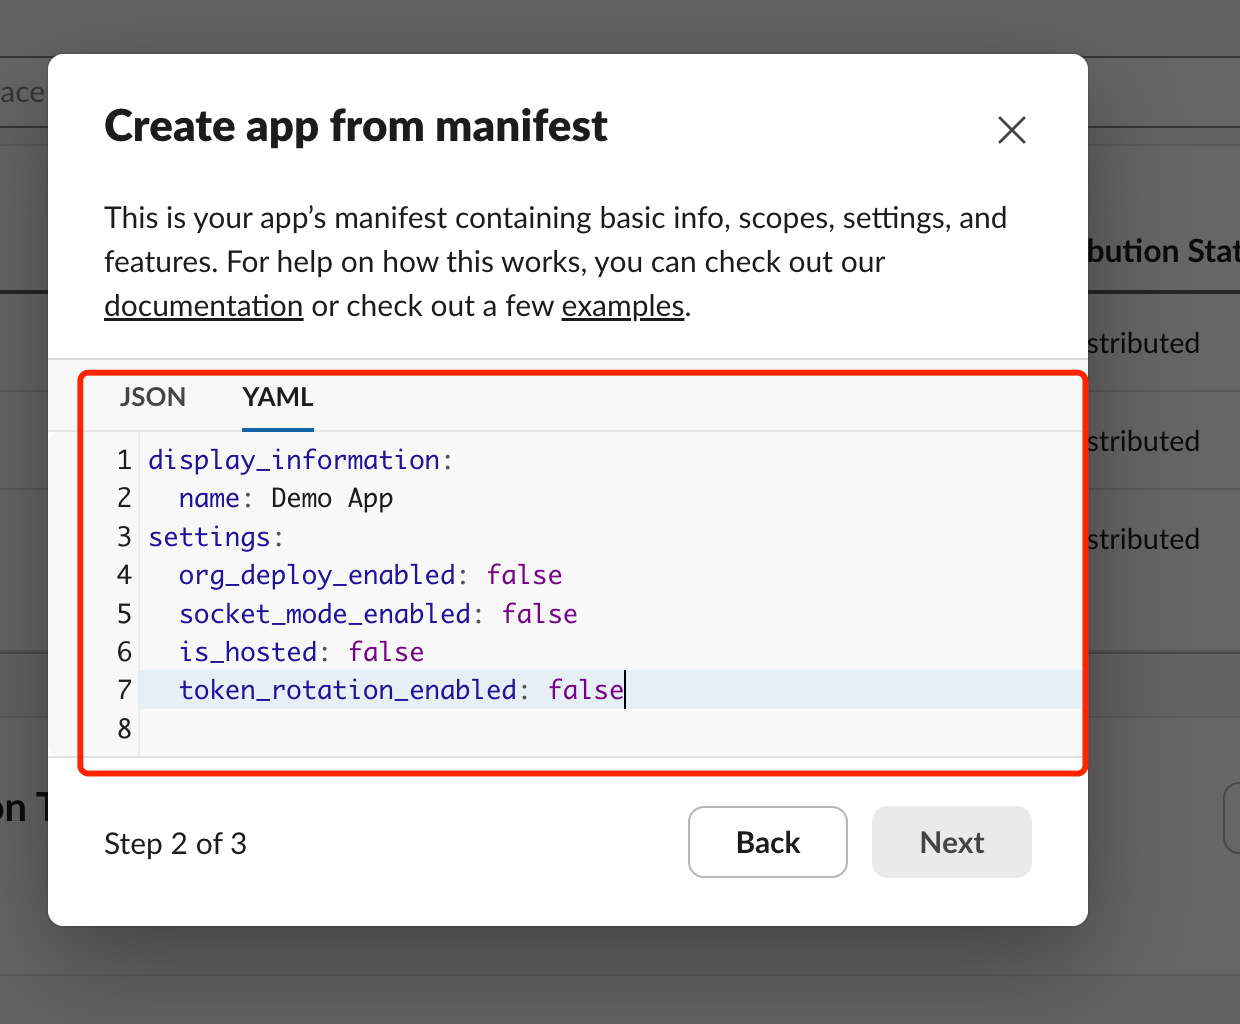
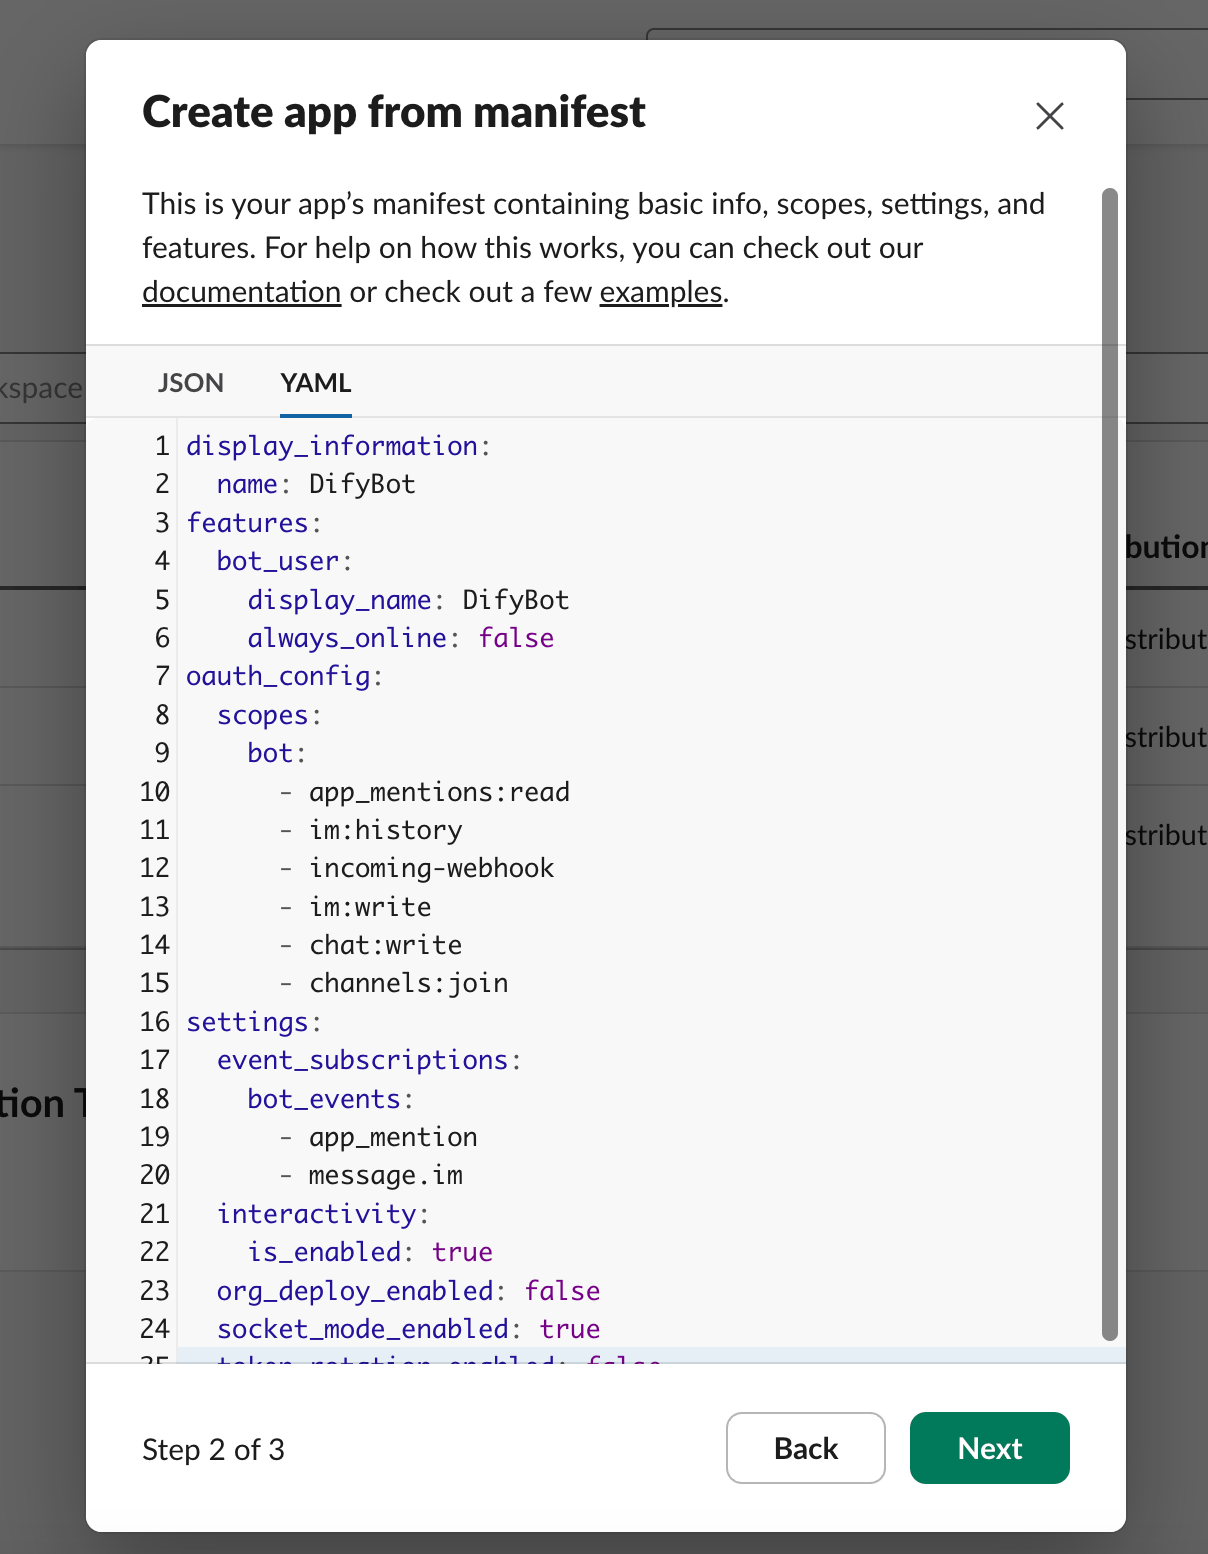
Step 4: Configure App Manifest
Copy and paste the following YAML manifest:
| |
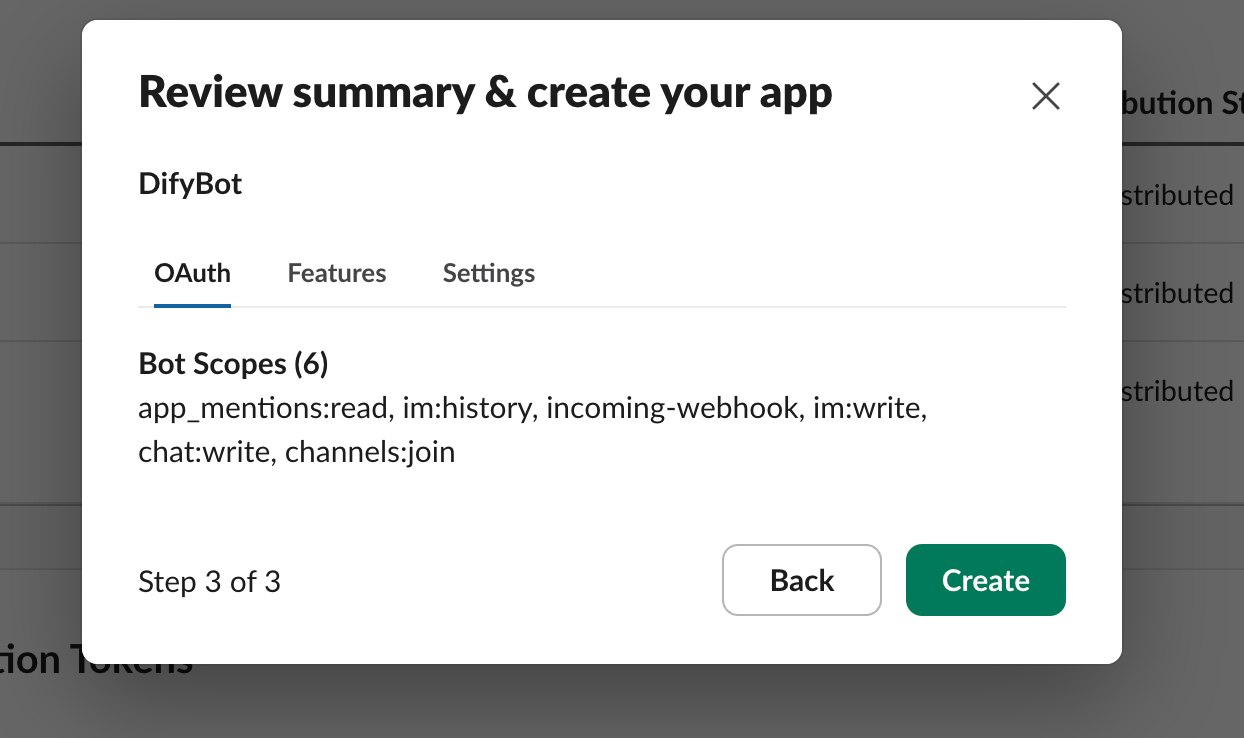
Step 5: Review and Create
Review the summary and click Create to finalize your app.
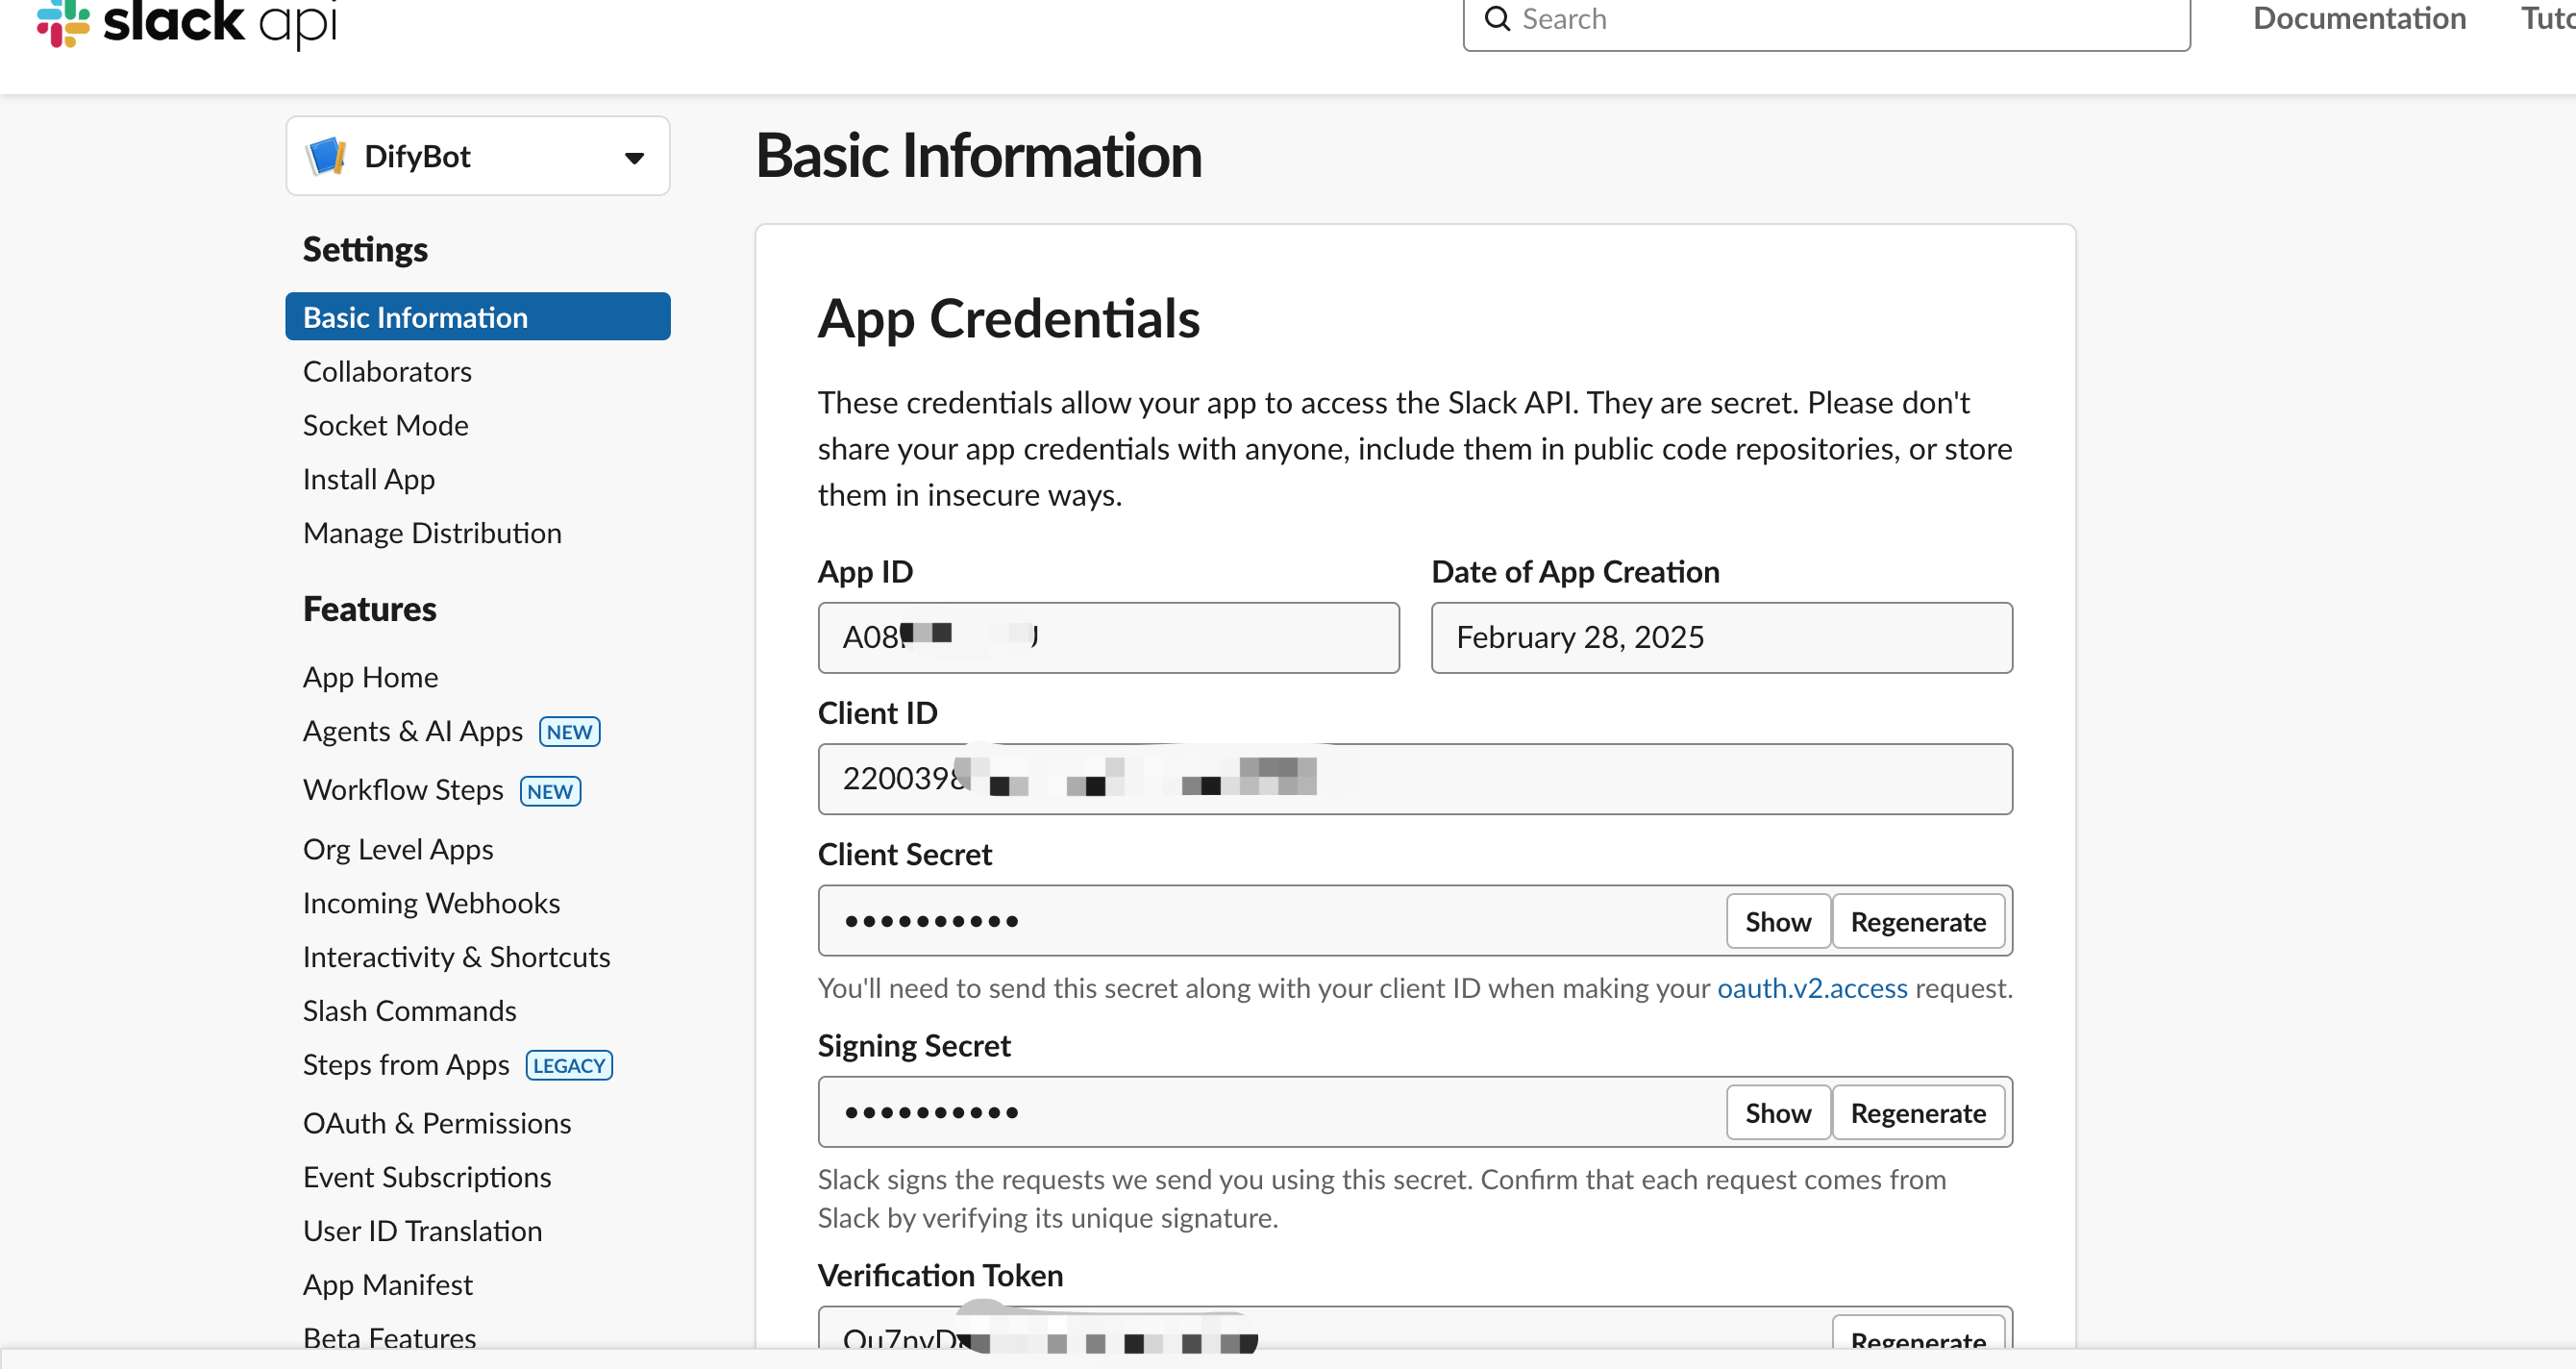
🎉 Congratulations! You’ve successfully created your Slack app.
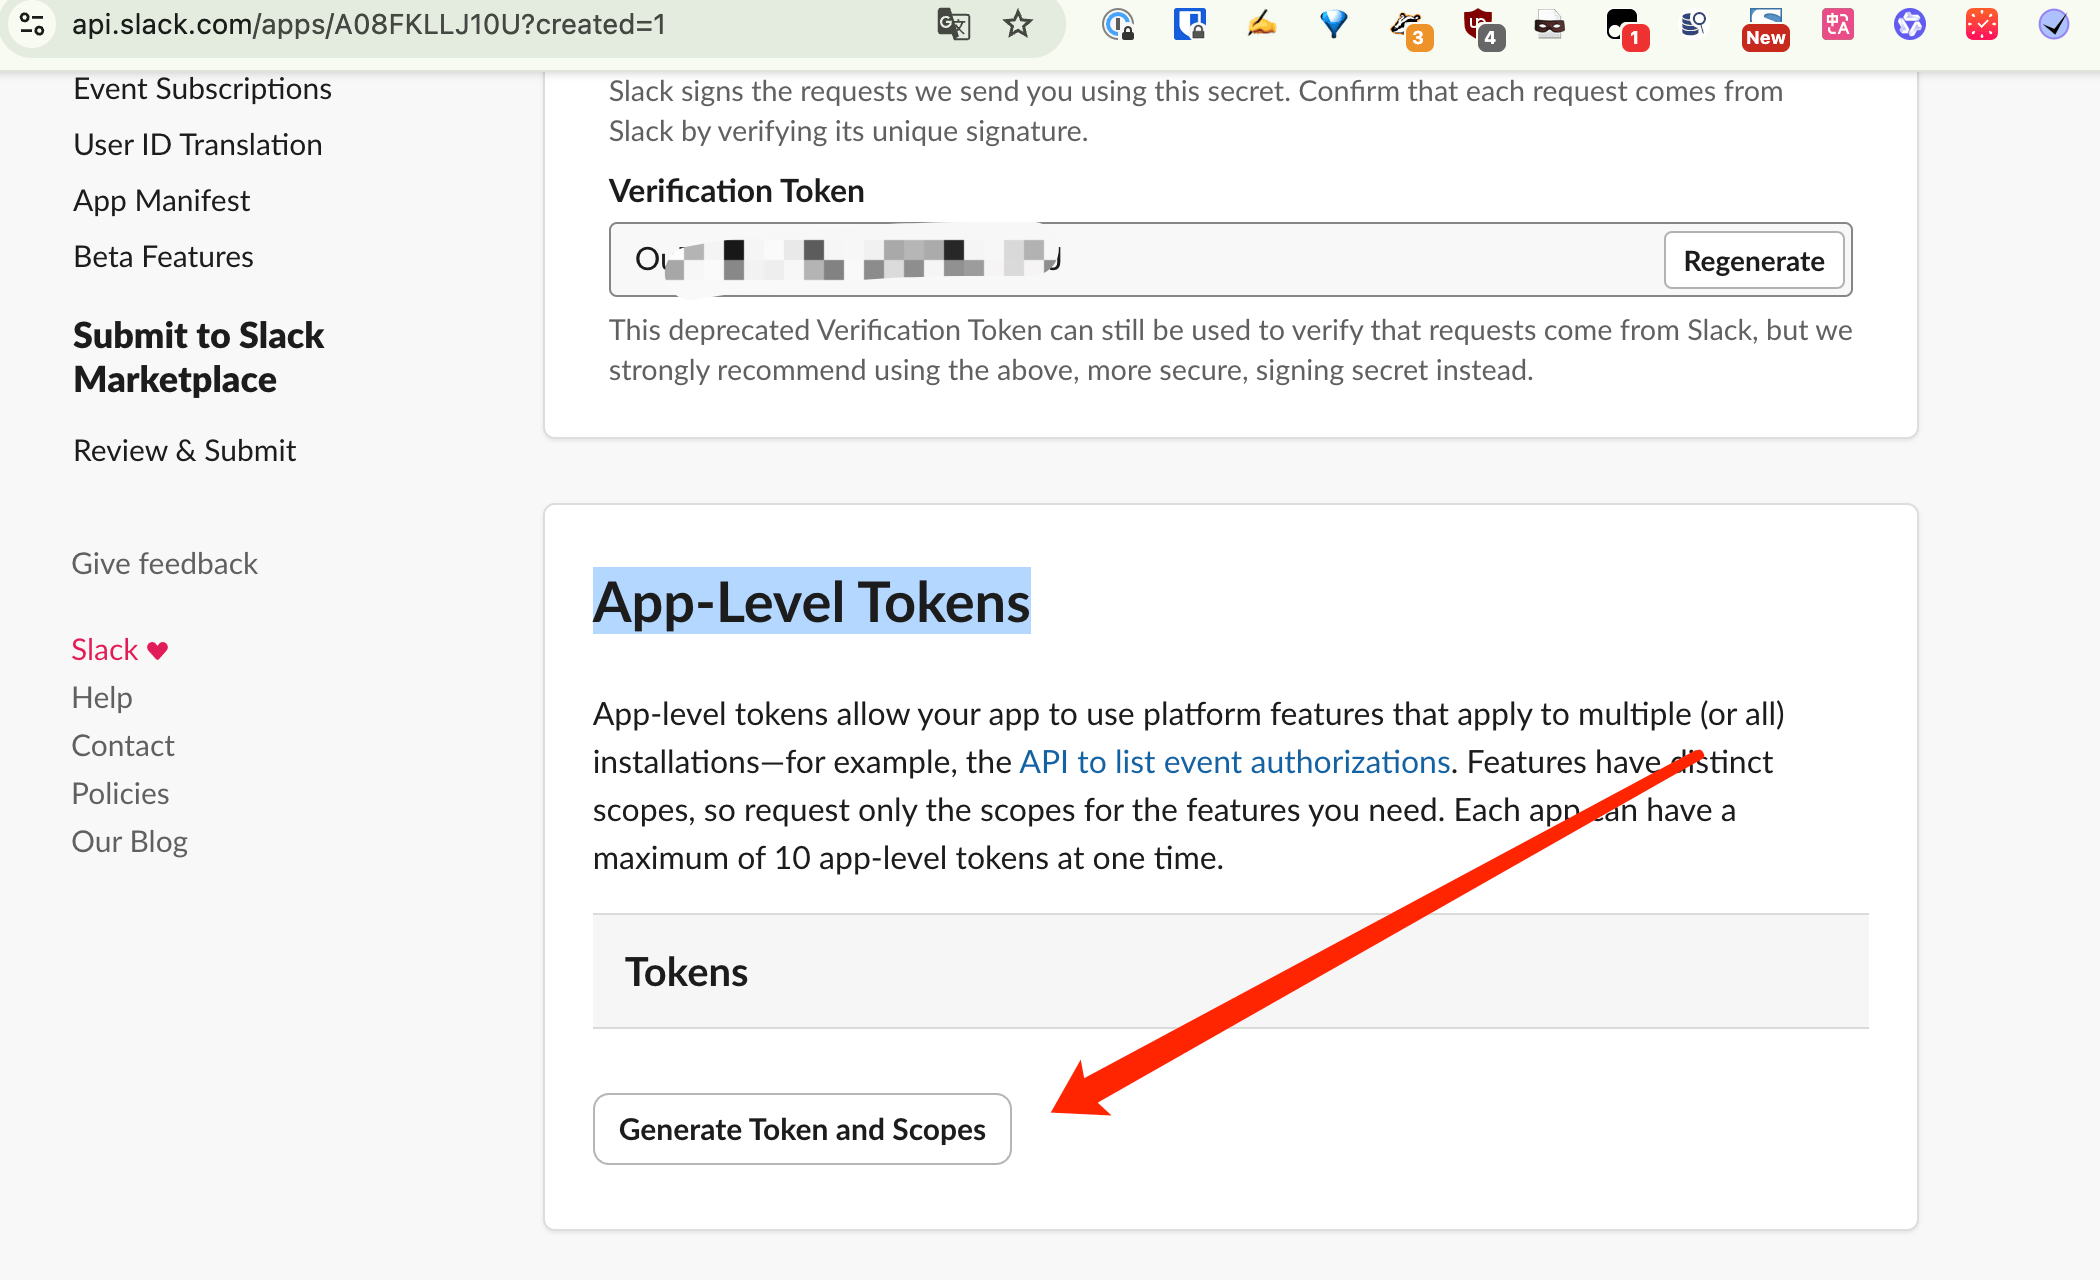
Step 6: Generate App-Level Token
Scroll down to App-Level Tokens and click Generate Token and Scopes.
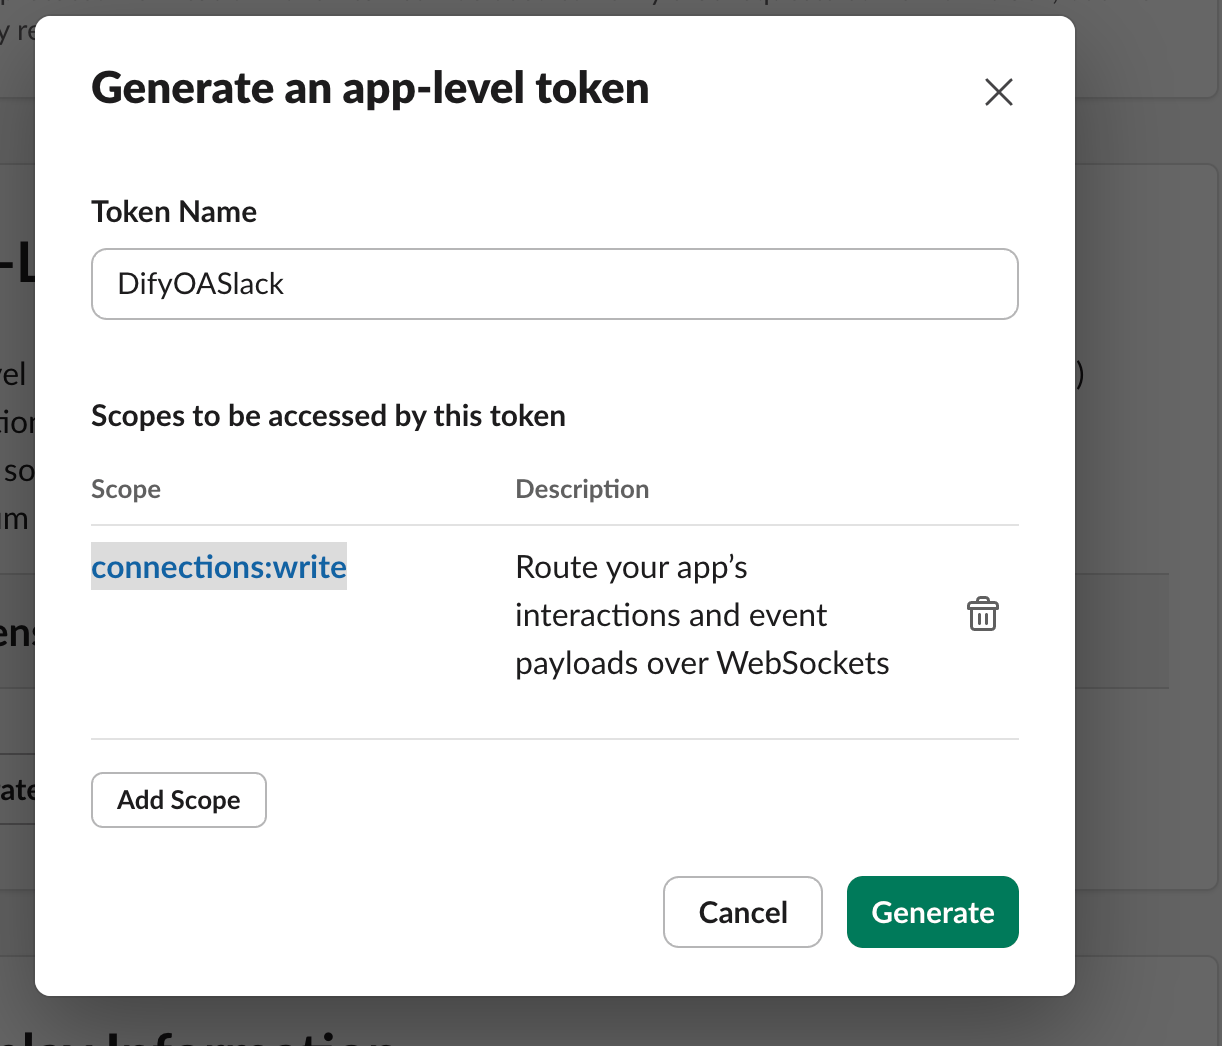
Step 7: Configure Token Settings
- Enter a descriptive Token Name (e.g., “Dify Bot Connection”)
- Add the connections:write scope
- Click Generate
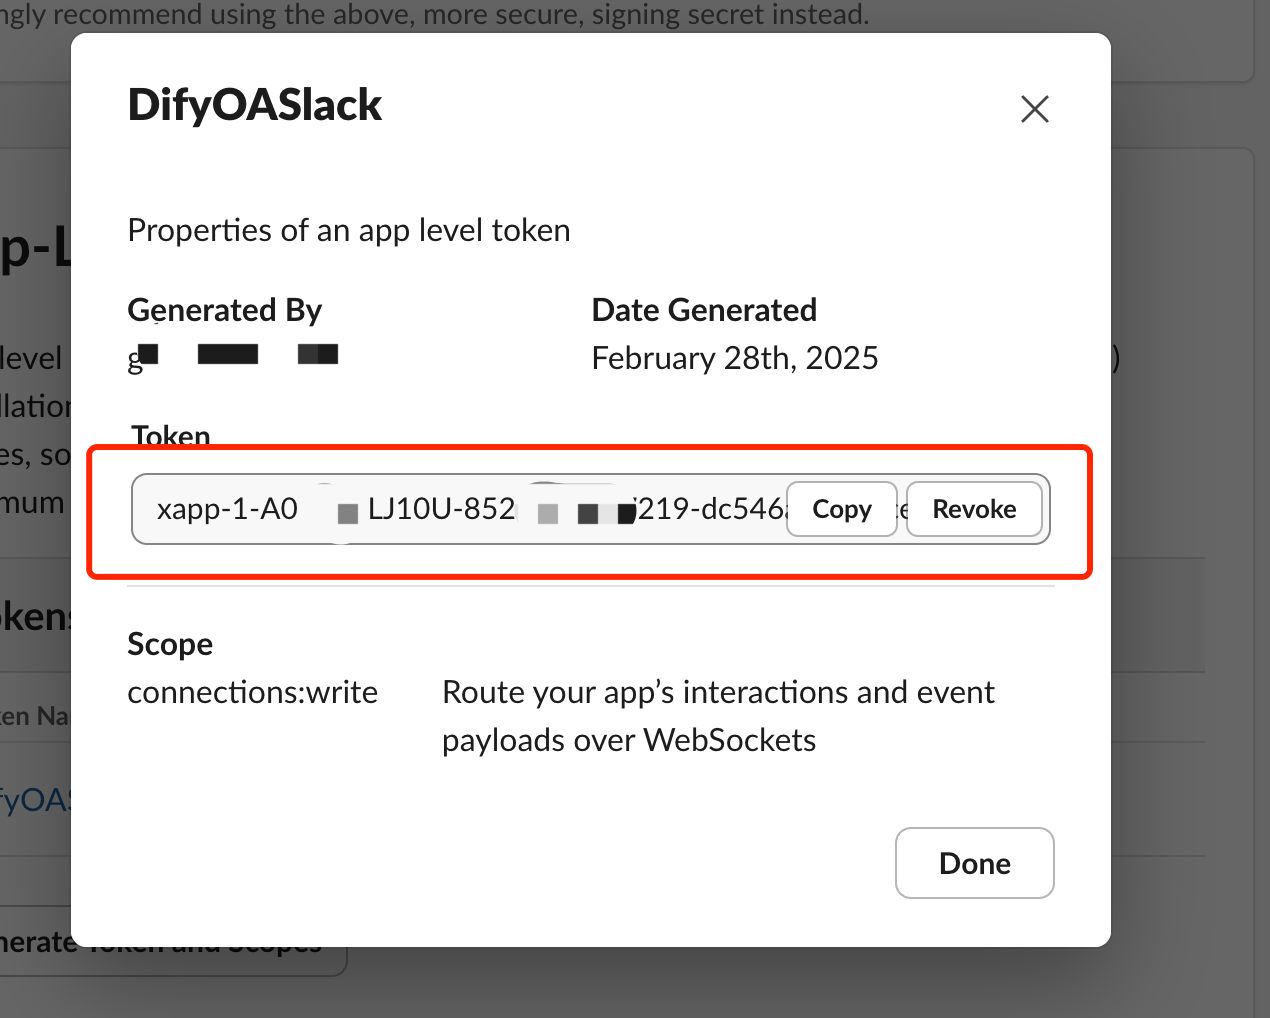
Step 8: Save Your SLACK_APP_TOKEN
Copy and securely store this token - you’ll need it later.
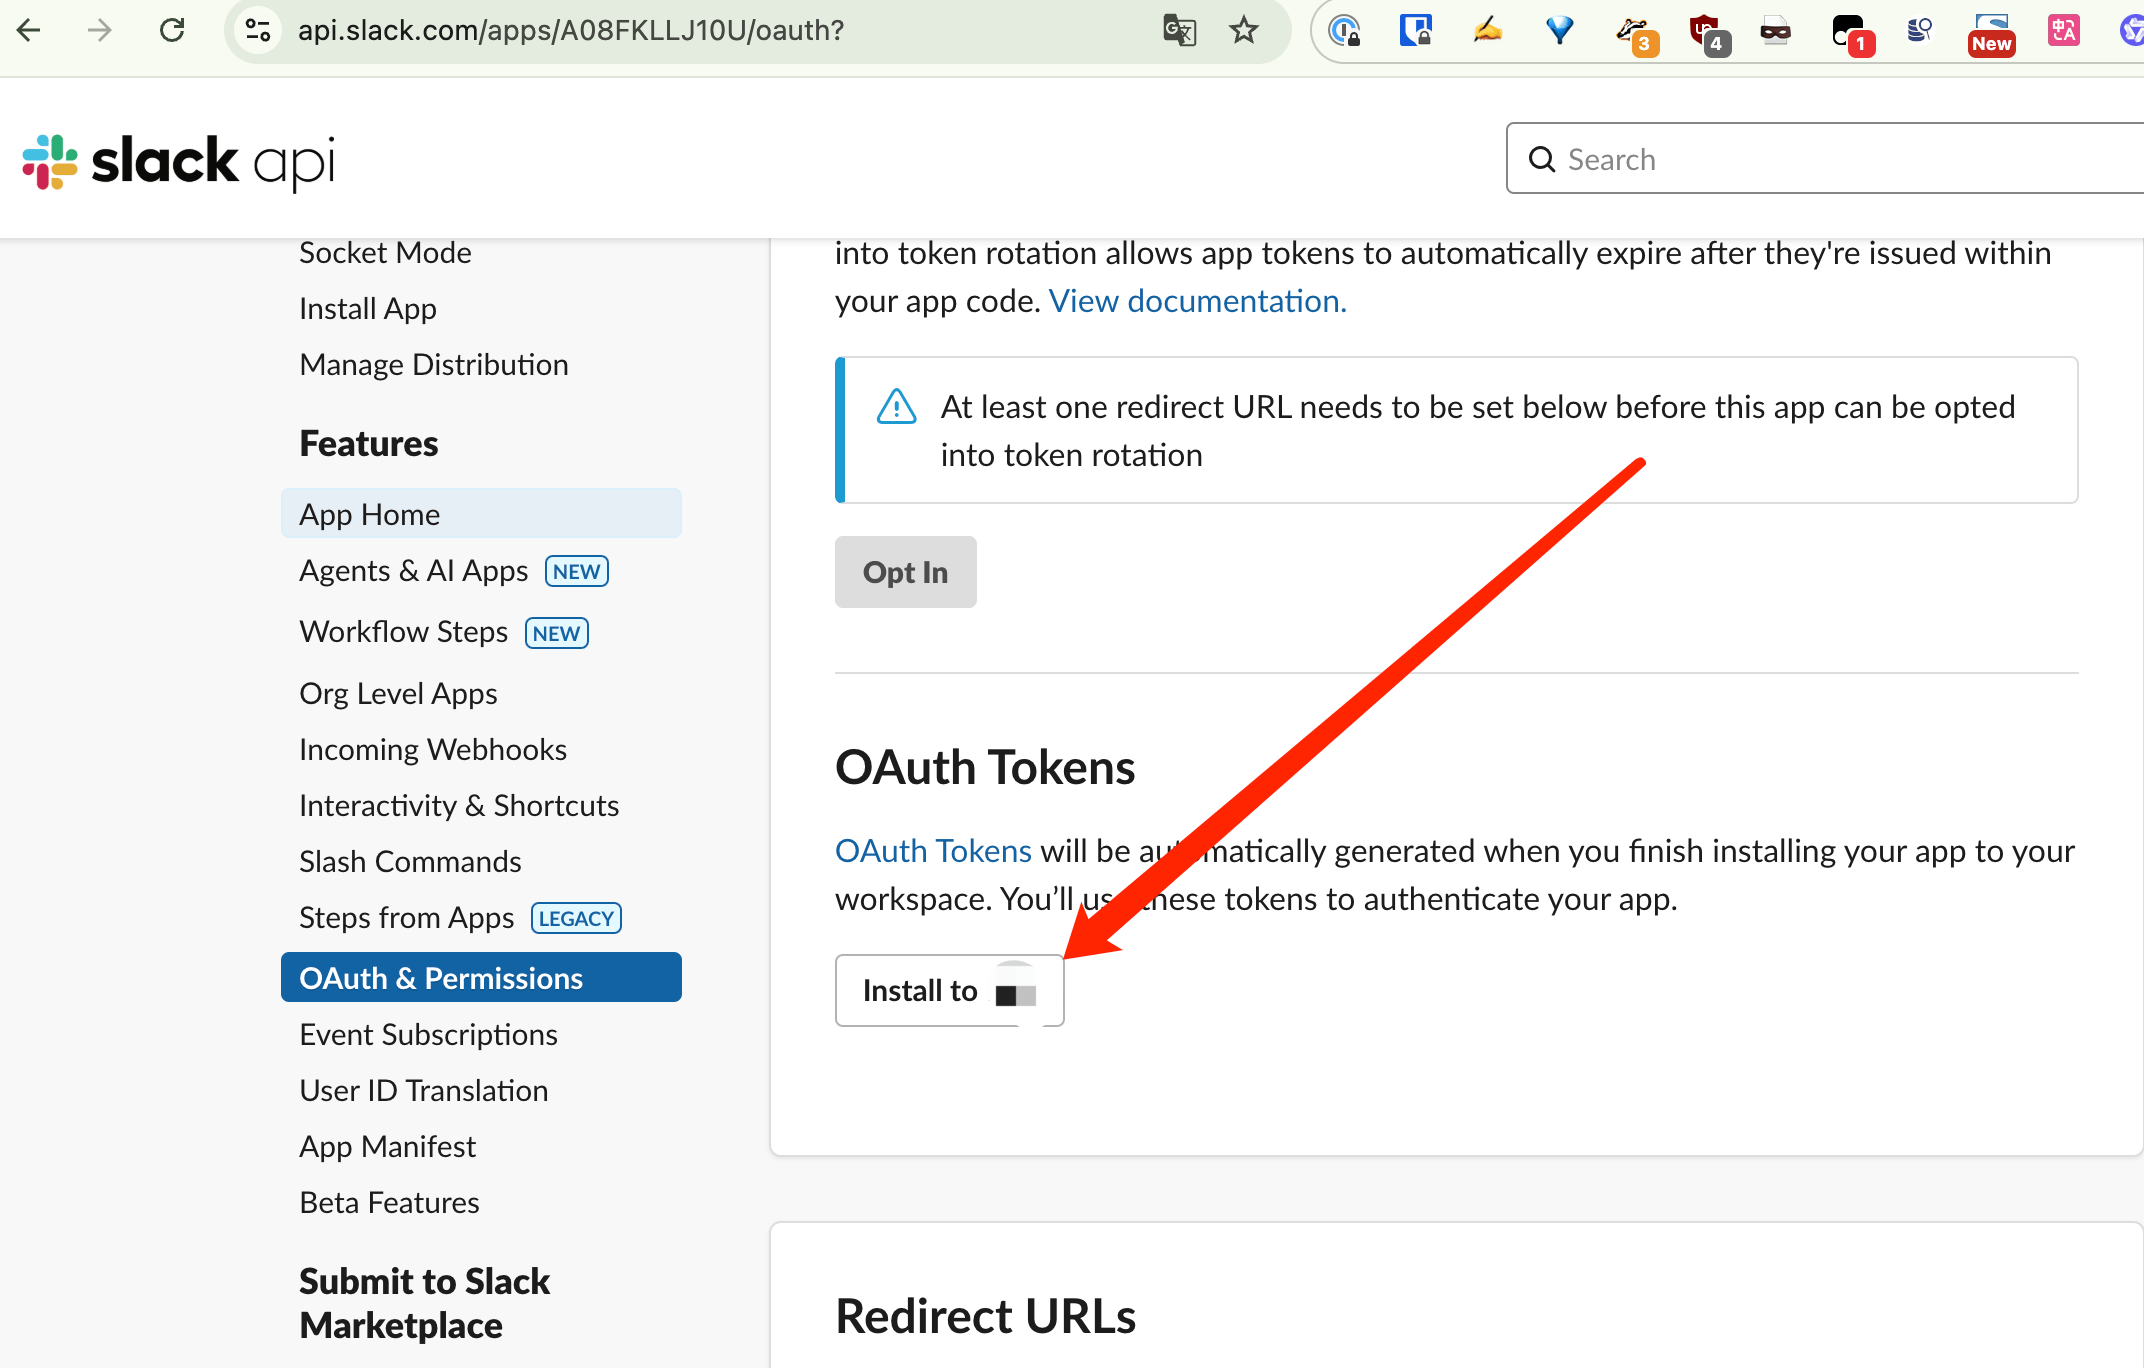
Step 9: Install App to Workspace
Navigate to OAuth & Permissions in the left menu.
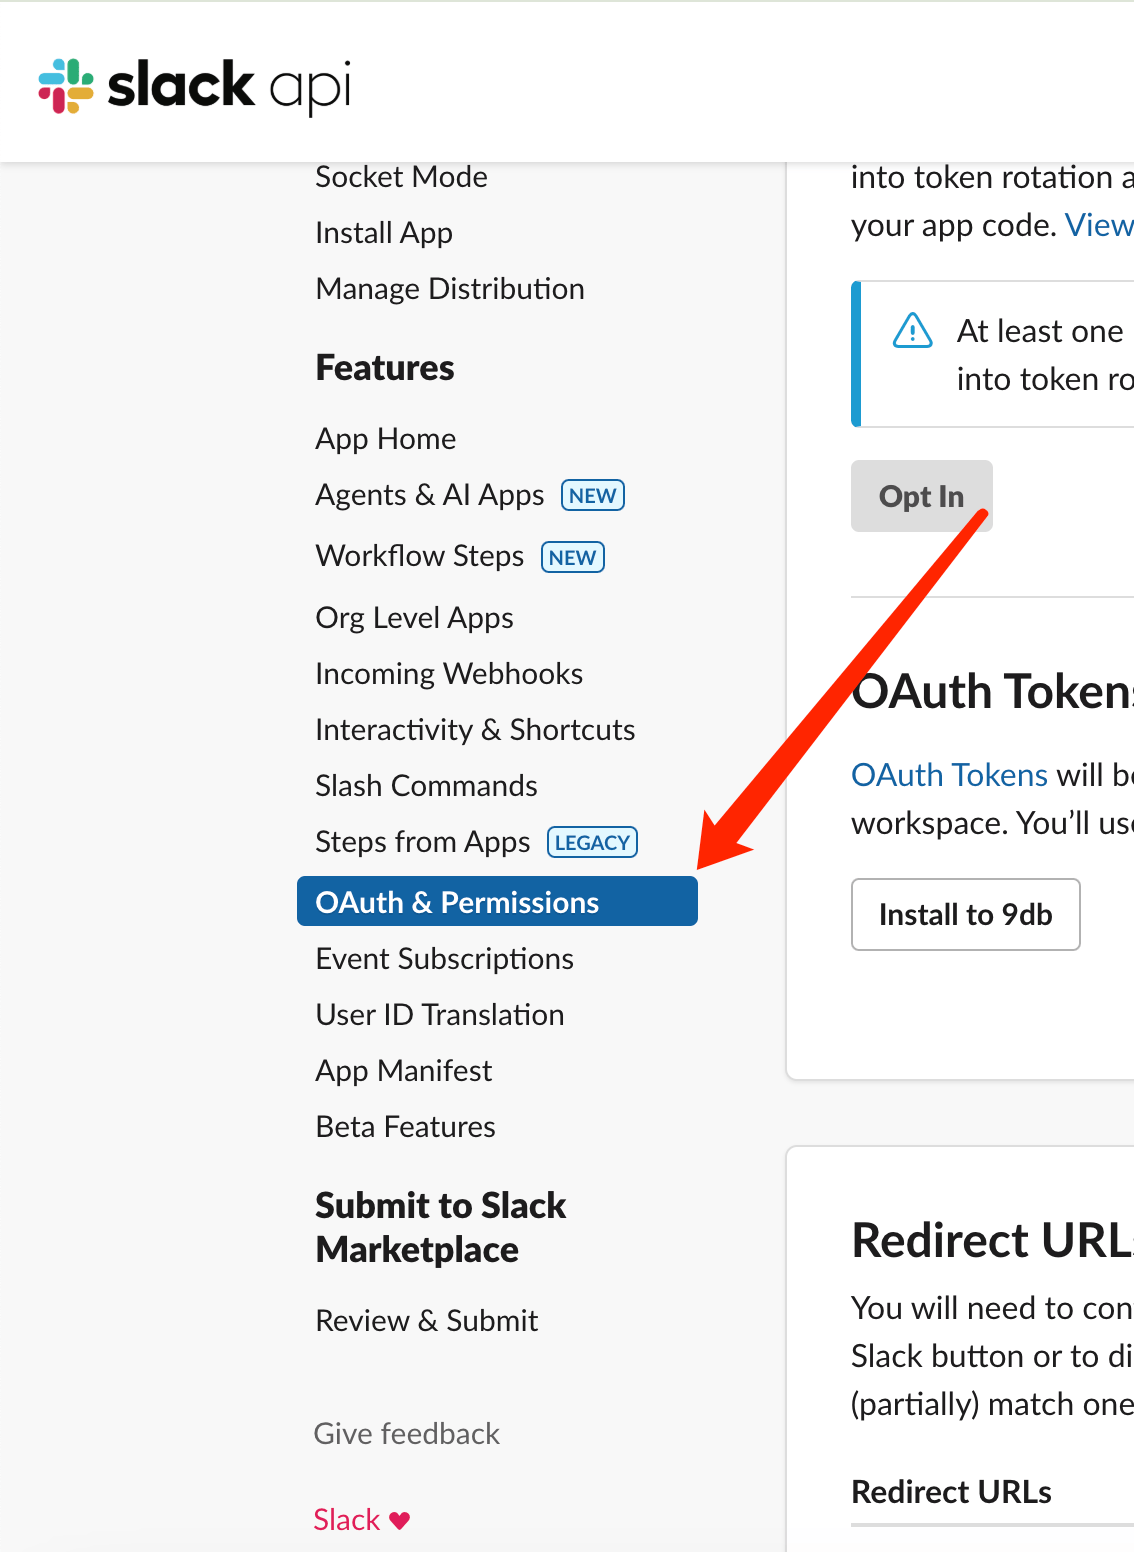
Click Install to Workspace (or your workspace name).
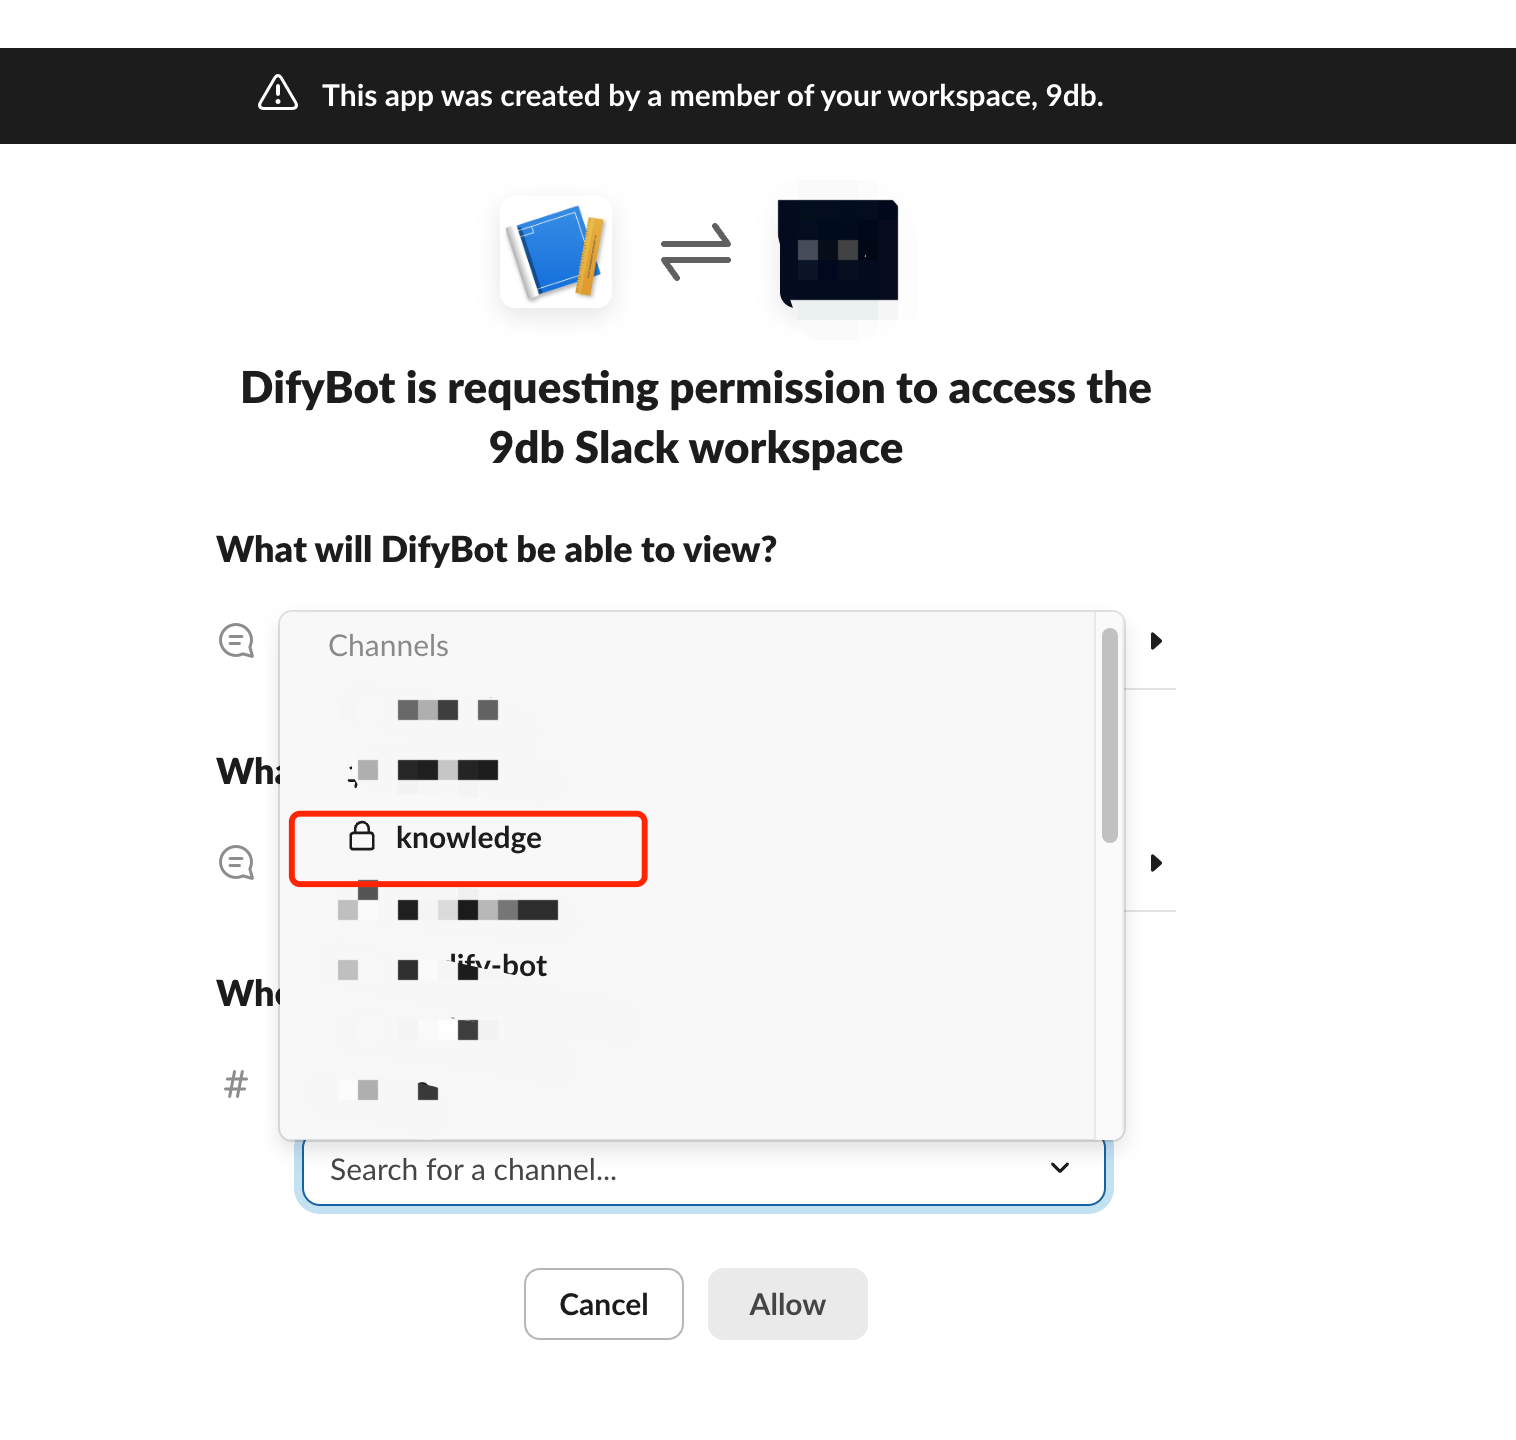
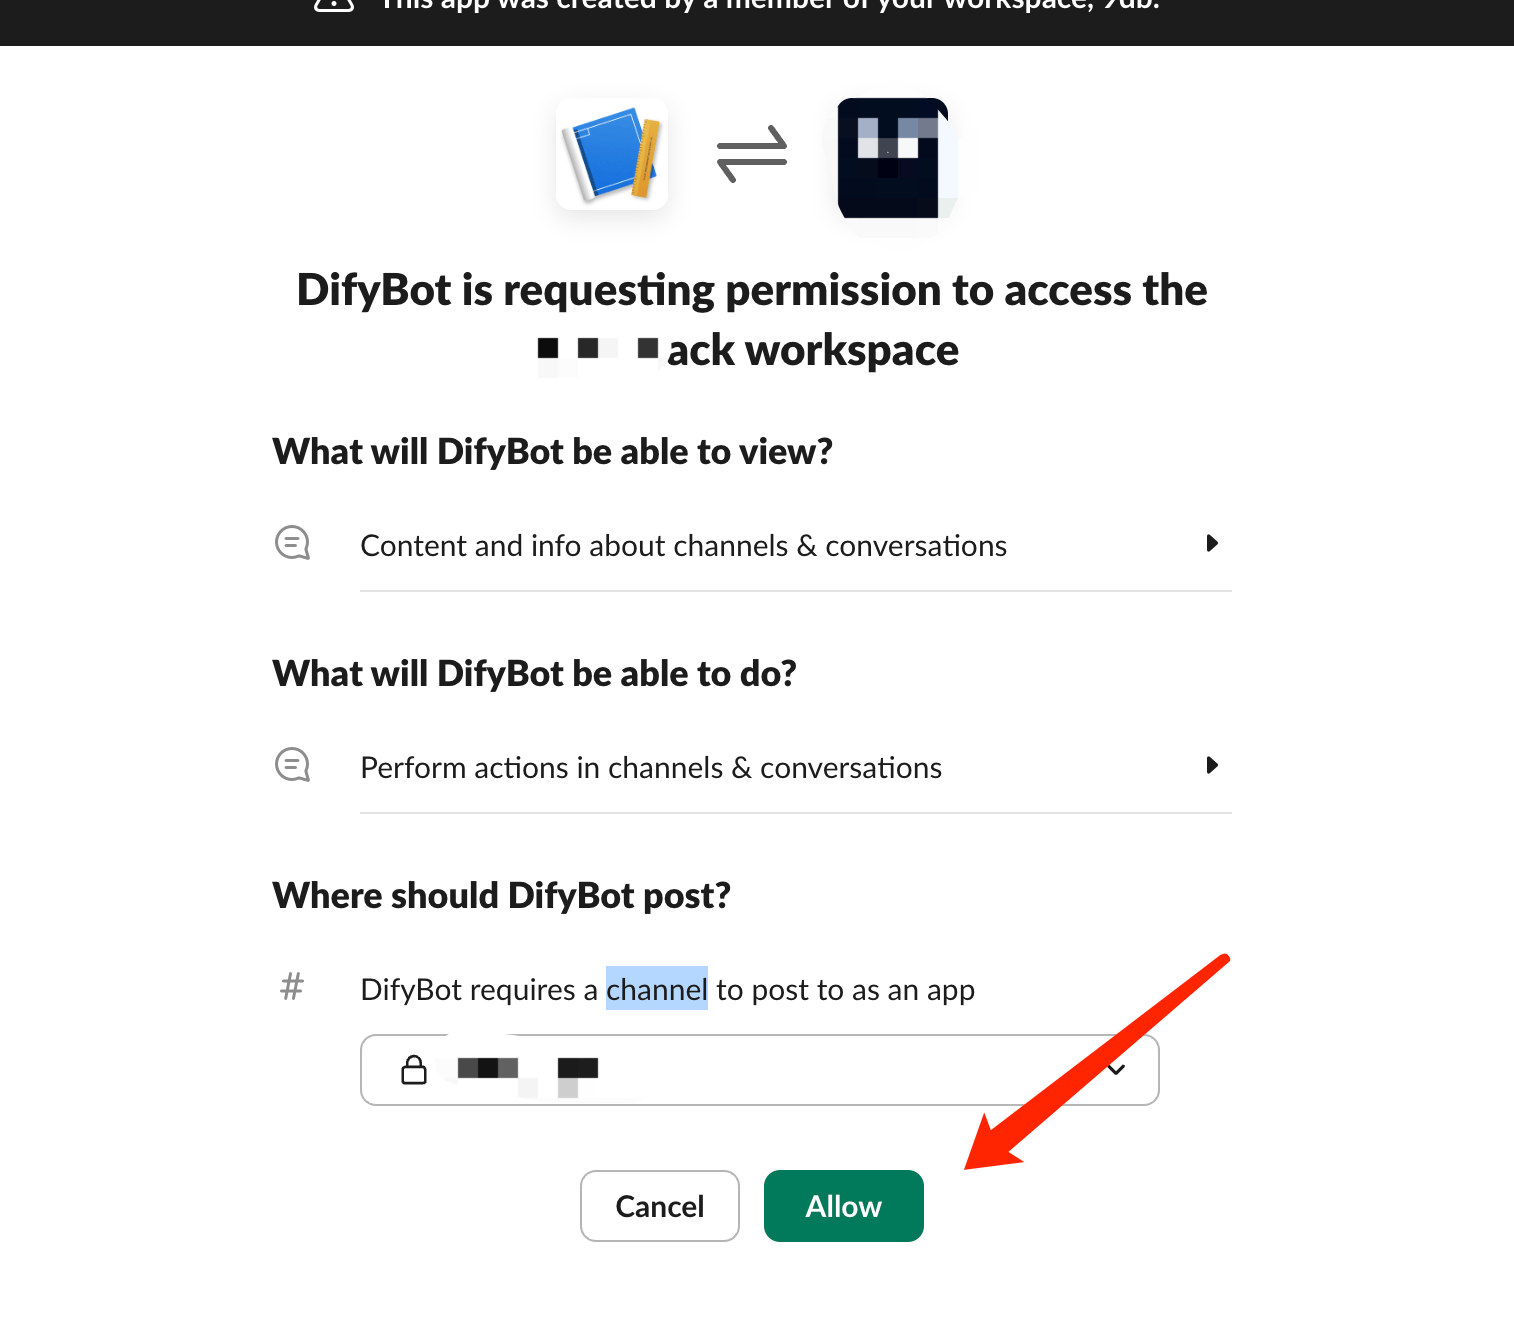
Step 10: Authorize the App
Select the channel(s) where you want the bot to operate and click Allow.
Step 11: Save Your SLACK_BOT_TOKEN
Copy and securely store the Bot User OAuth Token - you’ll need this for configuration.

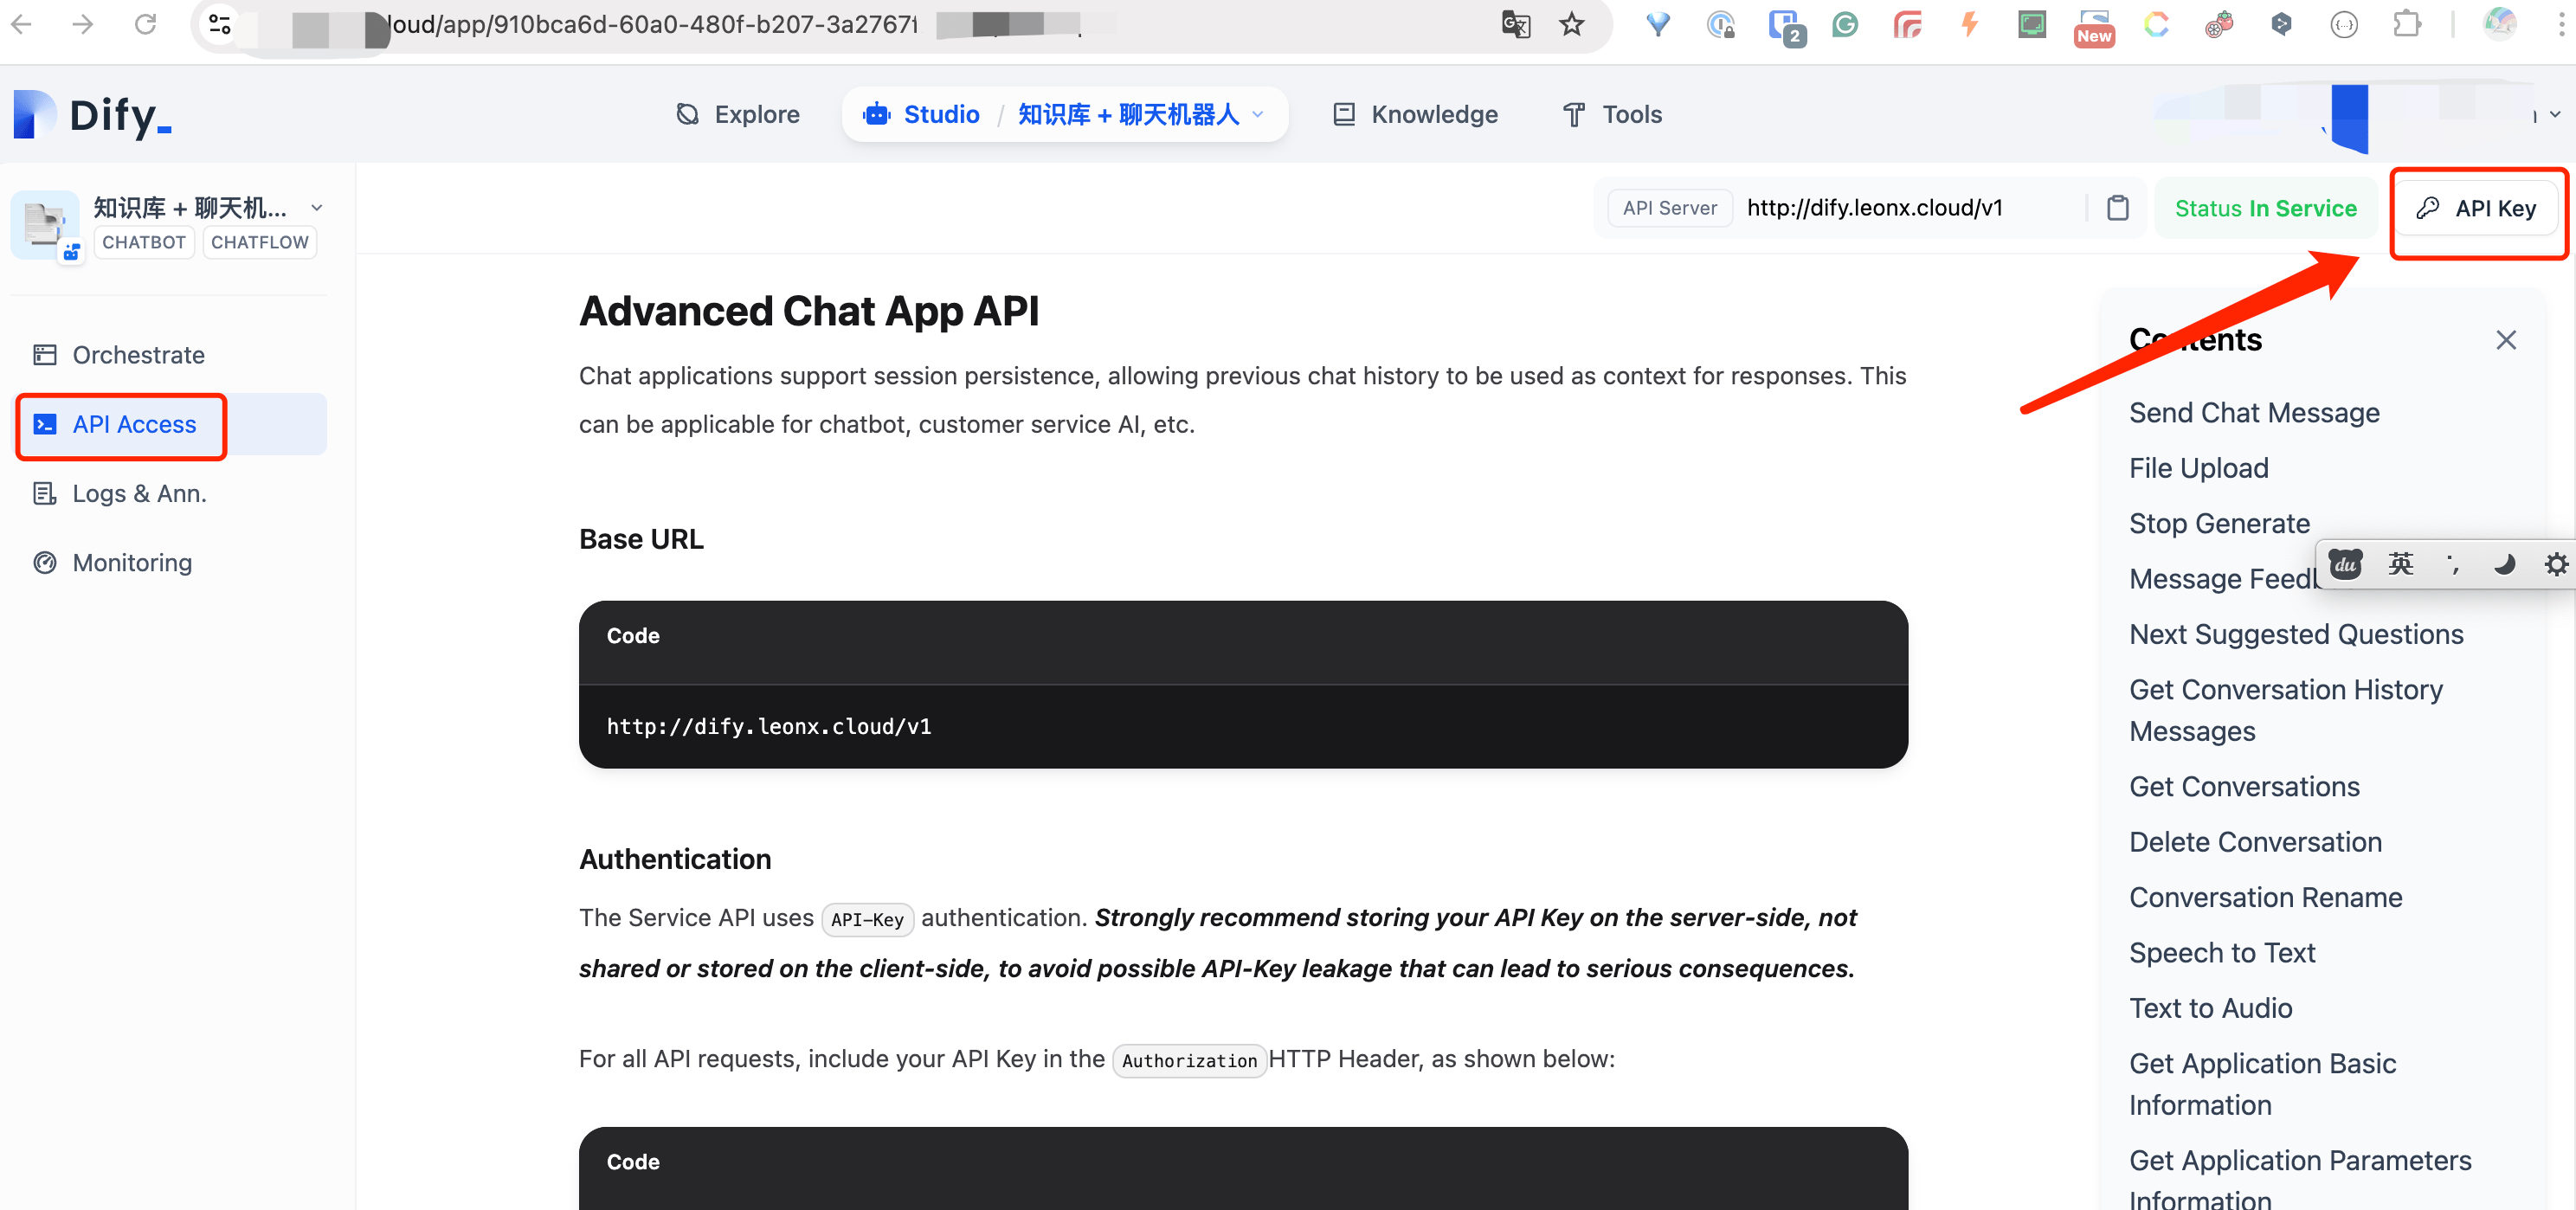
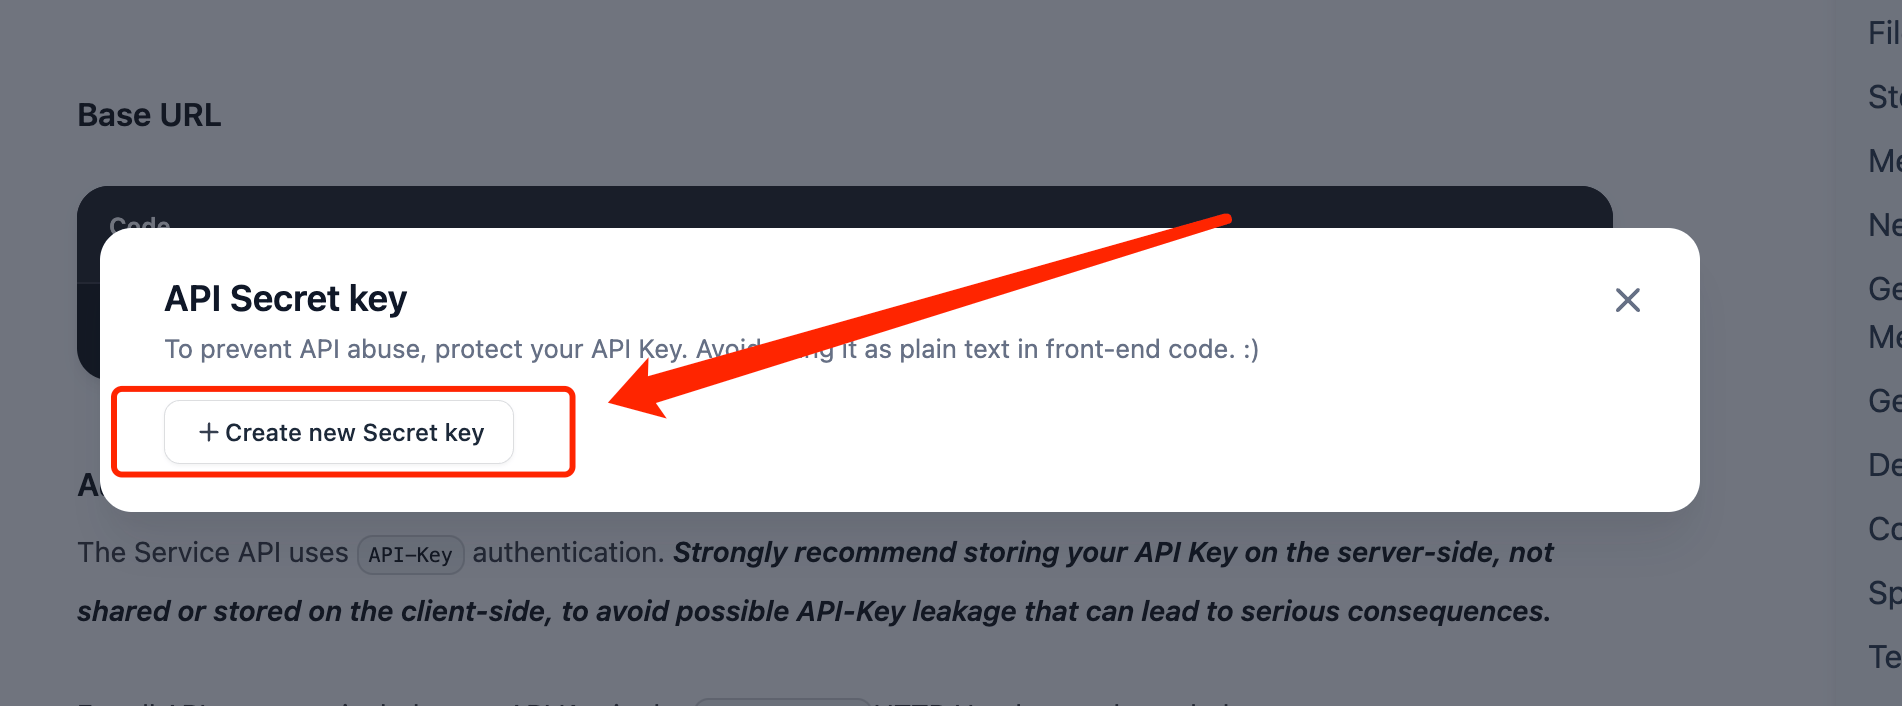
Part 2: Obtaining Your Dify API Key
Access your Dify dashboard and generate an API key for your knowledge base.
Part 3: Deploying Your Dify Slack Bot
Step 1: Clone the Repository
| |
Step 2: Configure Environment Variables
| |
Edit the .env file with your credentials:
| |
Step 3: Build the Docker Image
| |
Step 4: Run the Bot
| |
What’s Next?
Once deployed, your AI knowledge bot will be available in your Slack workspace. You can:
- Ask questions directly to the bot in DMs
- Mention the bot in channels it’s been added to
- Get instant answers from your knowledge base
Enjoy your new AI-powered assistant!